These are my two littlest kiddos stringing buttons. Aren't they the cutest? It kept them occupied for about an hour, and took me back down memory lane -- I used to do this all the time when I was little! And sometimes not so little -- I remember teaching some of my babysitting charges about stringing buttons. :) It has absolutely nothing to do with the rest of this post, it was just a really fun morning with my littles that I know I'll want to remember!
Okay, back to our regularly scheduled post. Most of the patterns I work with have you make half-square triangles by putting two squares together, drawing a line and sewing 1/4" on either side of the line, then cutting them apart and squaring up. I love this method, as there's relatively little waste, but it makes me cranky to draw those little lines if I have to do a bunch of them. So, here's a little trick I learned in the army. And for the record, I have never been in the army. I mean absolutely NO disrespect to anyone in the armed forces, I really value and appreciate all the hard work and service they give to our country! It's just a funny expression I picked up from my dad (he says it all the time!), and he was never in the army either -- it means I had to figure it out all on my own. :)
First, cut your squares to the desired size. For example, if you want a 3" unfinished square, cut your squares to 3 3/8" if you don't want to square up, and 3 1/2" if you do want to square up. (FYI, if this is a quilt just for our family, I love to not square up; but if it's for someone else or I'm going to show it somewhere, I'll square it up so I can be more accurate.)
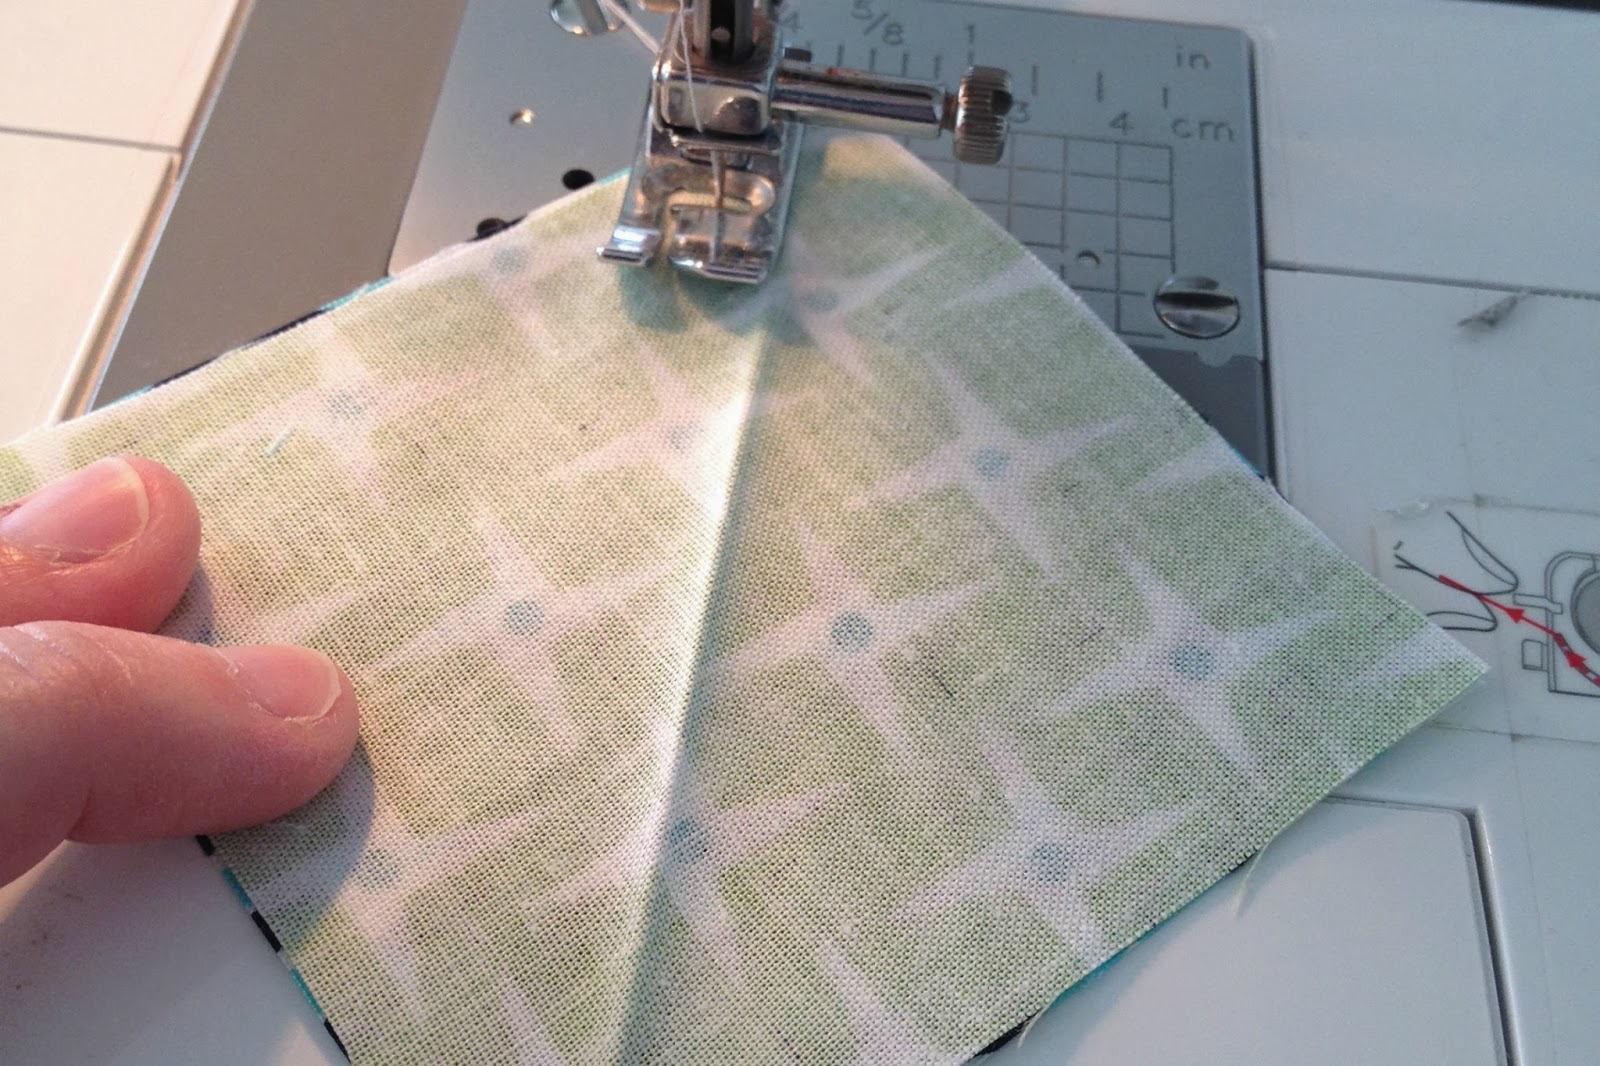
Next, take your fabric over to the iron. Iron just one of the squares, diagonally. I just press it really lightly, so as not to distort the fabric. It takes about a second, and then I don't have to worry about any pencil marks bleeding through. And if the mark doesn't quite line up on both sides, it's easy to re-iron, and you don't have to worry about which pencil mark to follow. Not that I've ever done that...
Sew 1/4" on either side of the line, just as you would with a drawn line.
Press seams to one side, and square up if desired. Now you have the cutest little half-square triangles!
I've used this method for half-square triangles and flying geese, but I can only recommend them for larger blocks, because the folding does introduce a tiny bit of inaccuracy in piecing. If you're trying to be really accurate, especially with smaller piecing, please still mark your squares -- you'll be much happier with the result. But if you're doing a big half-square triangle or you're going to square up anyway -- go for the iron!


No comments:
Post a Comment
I love comments and try to respond to every one. Please let me know if you need clarification on something, want to know something, or especially if you LOVE something!