Showing posts with label quilt along. Show all posts

Monday, January 19, 2015

BFTPqal - Blocks from pages 8,9, & 60

Hello everyone!  I'm so excited to share my blocks from our #BFTPqal -- it's been so fun to do these!  We decided to do every block {mostly} in order, but as an entire one-third of the blocks are applique or paper piecing, we made the schedule up so there would be two pieced blocks and one applique/paper-pieced block each week.  Spreading out all that applique sounds like a good idea to me -- it's easy to get overwhelmed by it!

Friendship Album block, page 8

I really liked the way Marie Henry laid out this block -- it just made sense to my brain! -- so I just followed her instructions.  The only thing I would change would be to cut those background squares just a leeetle bit bigger and trim down -- you can see in my photo that they're just a little too small towards the bottom. Luckily, my layout will hide any problems like that!

This and That block, page 9

I actually did fudge this block a little. Marie Henry's directions are very straight-forward, but I had already pieced the other block and knew I wanted a little wiggle room, so I cut waaay bigger pieces than called for (between 1/2" - 1" bigger than recommended), and cut down as I went.  The center of the block I cut exactly as she has written, though, as that's the starting off point.  The only problem I had was that when I went to cut the blocks down to 3 1/2", I didn't quite get them down that far; they're about 1/8"-1/4" off.  Again, my layout will hide the problem, but I think my issue is that my seam allowance is just a little funny. I just changed thread weights, and I'm having a hard time getting an accurate 1/4" seam -- does anyone else have that problem?

In retrospect, I should have made my own little paper piecing templates for the centers.  It would have been pretty easy to make a paper piecing template for these, and then they would have been perfect. I sometimes forget on tiny piecing that I really like to paper-piece it, because then you don't have to worry as much about accuracy -- it's already done for you!

Rose Spray block, page 60

I was thrilled to get this block -- I requested it! It's so, so old-fashioned, but I think that's what makes it so perfect for updating.  Unfortunately, we had a really tough week last week (a tragedy in our neighborhood), so I didn't get this one completed. I will revise this post when I've finished it, but for now I'd like to tell you what I did that worked -- and what didn't work -- for me.

I got my pretty flower fabric last week, and I was so happy to use it for my center on the rose block! But the more I thought about it, the more I decided I would have to use it for the buds instead -- I really wanted something with a little more punch in the center.  So I'll be using the flower fabric for the buds, and that pretty blue fabric (from Fig Tree's Avalon line) for the center.

For the center flower background (the coral dot) I will be using a starch-and-freezer-paper method.  First, I adhered three pieces of freezer paper together, then traced my image, adhered it to my fabric (the shiny side just sticks when you iron it), then cut around it leaving about 1/4". Then I sprayed starch all around the edges and ironed it around the cut edges of the freezer paper. It worked great! And will make appliqueing it quite easy. I did the center flower (the blue with flowers) the same way, but left the edges fanned out so you can see -- I cut around the inside curves, but left the outside curves mostly alone.  Of course, this is such a small piece, it looks as though most of it is cut, but I promise it's not!

For the leaves, the starch-and-freezer-paper method worked great, but I'm going to have to use another method for the calyxes (the little bit of stem that is under the rosebuds) -- they're giving me kind of a hard time!  I tried to baste them, like you would for EPP hexies, but that didn't work very well at all. I think at this point I'll probably try using a needle turn method where I mark on the top of the fabric, then finger press all along the marked line, and cut my corners as needed as I go.

For the stems, I knew they would be straight lines, but I prepared a bias binding as direction in Marie Henry's book. It was, to be frank, a disaster. I couldn't get the seam allowance small enough to work without showing, so I scrapped that piece and tried a method I learned in a Craftsy class. I cut on the bias, then used my hera marker to score a line on which I ironed. It worked so much better! I think I might be just a touch bigger than 3/16", but it looks EXACTLY as I'd hoped.

I'm not sure this block is actually going to be as "modern" as I thought it would be, but it's still going to be so pretty I can't be sorry!

UPDATED 02/09/15: The "finished" block is blogged {here}


Thursday, January 15, 2015

Sampler Quilt Layout & Background Fabric Requirement

CHANGING IT UP
Something that threw a little wrench in my plans for this quilt along was the fact that I really don't love all of the blocks. I think some of them just don't "speak" to me -- so I only want to do about 44 of the blocks. But we don't really need to do ALL the blocks, because we've got so many other quilters that will be guest posting their blocks. Plus, I don't have the time to do three blocks a week AND do other projects, and I don't need another twin-sized quilt -- so I'll just make this a lap-size and only do the blocks I really love. :)
{caveat: I was assigned 12 blocks, so some of those I'll love just as much, and some I'll probably only like... but the ones that take more work (read: applique) are definitely all ones I love!}

Okay, so now that I've realized I don't want to do everything, and I'm maybe going to change up the layout... where do I start? I always start with how big I'll be making the finished product, and work my way backwards. Since the finished product's borders can vary quite a bit, I'm going to pretend they just aren't there, and just work on the center of the quilt.

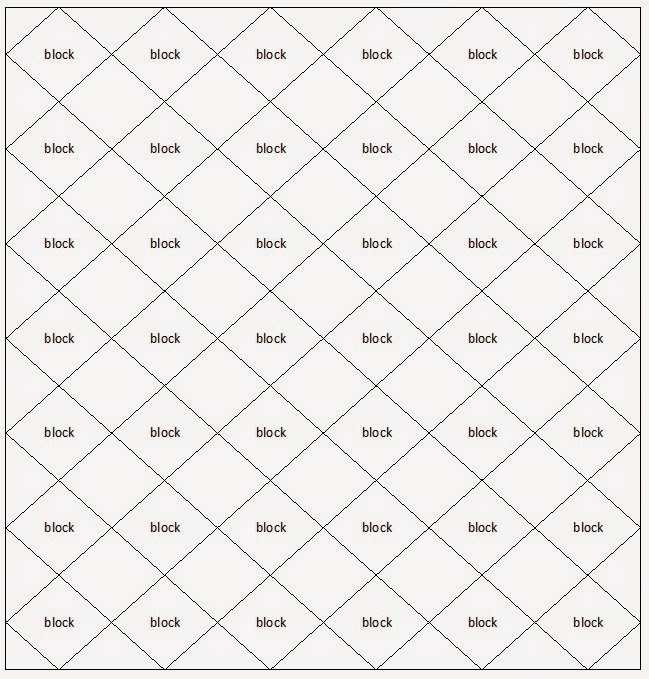
Because of the size of the blocks -- a teensy 6" finished -- I decided I wanted to use a little more background fabric and create some blank space for my eye to rest. The first layout idea is very similar to the layout Marie Henry used, but instead of filling each space with blocks, the "in between" blocks will be background fabric.  I used a similar layout in my Peteetneet Quilt show challenge fabric entry, blogged in my intro to the quilt along here. I laid everything out in my super-high-tech quilt layout program (Excel for Windows), and took a screenshot:
 

The fun part about this layout is that you can do the same amount of blocks as the original, and your quilt will have a very similar feel to the original layout -- but you'll only have to do 42 blocks instead of 72!

I had another idea, too -- one I'd seen in some of the Farmer's Wife quilt layouts, and really liked.  Plus, the BEST part is that, because I really prefer most of the blocks straight-on, instead of turned on point, I could have the best of BOTH worlds! :) I laid it out in my "quilting" program again, and took another screenshot:
 
 
I really like it!  I used my trusty old Pythagorean Theorem (a-squared plus b-squared = c-squared)  to figure out the block size (about 8 1/2" finished), and went from there.  Who ever said you would use math in your grown-up life was sure right about quilters!

CALCULATING THE BACKGROUND FABRIC
Now that I've decided on layout, I need to figure out how much fabric EACH block will use, and how much of that measurement I can get from a width of fabric.  I took a screenshot of how my brain works -- I really do have to write down every step of the problem, because I like to check my work at the end to really make sure it's right. 
Now, I am only human. And I'll be honest -- I didn't bother checking my work this time.  Also, it's entirely possible my Pythagorean Theorem won't work out quite right -- it was an estimate, after all. But I'm figuring the half-squares the same way you figure half-squares for a HST block, so I think I'm pretty close to right. And in this case, close enough is good enough (what famous quilter says that ALL THE TIME? I just love her! And you get ten points if you guess right!). I'm just wanting an estimate so I know how much yardage to buy, and I'll estimate a little high just to be on the safe side anyway -- I can always use more background fabric!

Plus, this little measurement estimator doesn't take into account the fact that almost every block has some sort of "background" fabric in it -- she used mostly prints, but I really like the idea of using that same background fabric so my blocks are floating.  So, instead of taking that 1 3/4 yd. total, I'll add another yard and a quarter to make about 3 yds. -- and that's about how much I'll set aside for my quilt top.

One thing's for sure -- I will be making testers for each block BEFORE I cut out all my strips, but I'll let you know all about that next week, when I post about making my first blocks.  It's going to be so fun!

Monday, January 12, 2015

#BFTPqal - Fabric Requirements & Selection

Hurray -- we're well on our way to the Blocks From the Past Quilt Along! I'm so excited -- and let me just remind you, my friends and I will be posting my progress in realtime on Instagram using the hashtag #BFTPqal. :)

FABRIC REQUIREMENTS (a.k.a. the MATH)
The fabric requirements really threw me for a loop with this project -- the fabric requirements for the sashing and border are listed on page 5, but basically Marie Henry says there's no way to calculate how much yardage you'll need, because you're doing one block at a time, and because it's such a scrappy quilt. I'm a HUGE planner, so I like to know how much fabric I need right from the get-go. I think the biggest reason for this is that I don't want to buy too much fabric -- I know, there's no such thing! -- because my fabric budget is pretty tiny. I can't be too sad, though -- we're trying to pay off all our debt, and I'm looking at the long-term. I figure by the time we get all our debt (except the mortgage) paid off, my kids will all be in school, and I'll want a bigger fabric budget because I'll have more time to sew! {My mother says that isn't really the way it works, but I'm still holding on to that dream. :)} Anyway, I don't want to buy too little fabric either, because then you either run out and have to use something that doesn't really go, or you have to rearrange things somehow.

I'll talk a little later this week about how I'm going to lay out my quilt and calculate my background fabric, but for this post not to be TOO epic, I'll just talk about the colored fabrics here. They're the most fun anyway! :)  I needed an estimate of how much fabric might be needed, so what I did was take all the fabric requirements for the first two blocks, and played around with cutting them out of a fat eighth.* I figured I could easily get two blocks out of a fat eighth, and four blocks out of a fat quarter.

*a fat eighth is a cut of fabric that is about 9"X21", give or take an inch;
  a fat quarter is a cut of fabric that is about 18"X21"

So, the math is like this:
FAT EIGHTH REQUIREMENT = # of blocks you'll sew DIVIDED BY TWO
FAT QUARTER REQUIREMENT = # of blocks you'll sew DIVIDED BY FOUR

So, if you're doing all 72 blocks, you would need 36 fat eighths or 18 fat quarters.

{Please note, this is a GENEROUS estimate for the quilt blocks and cornerstones -- you could probably get away with a few less pieces of fabric, but I really hate running out. And love having a lot of variation in my scrappy quilt.}

And if you're pulling fabrics from your scrap bin for this project, I'm with Marie on this one -- I probably won't ever be able to guess how much fabric you'll use!

FABRIC SELECTION
Let's be honest -- this part is so much fun!!  And that's what I found when I was pulling fabric from my stash. I just couldn't stop!

 
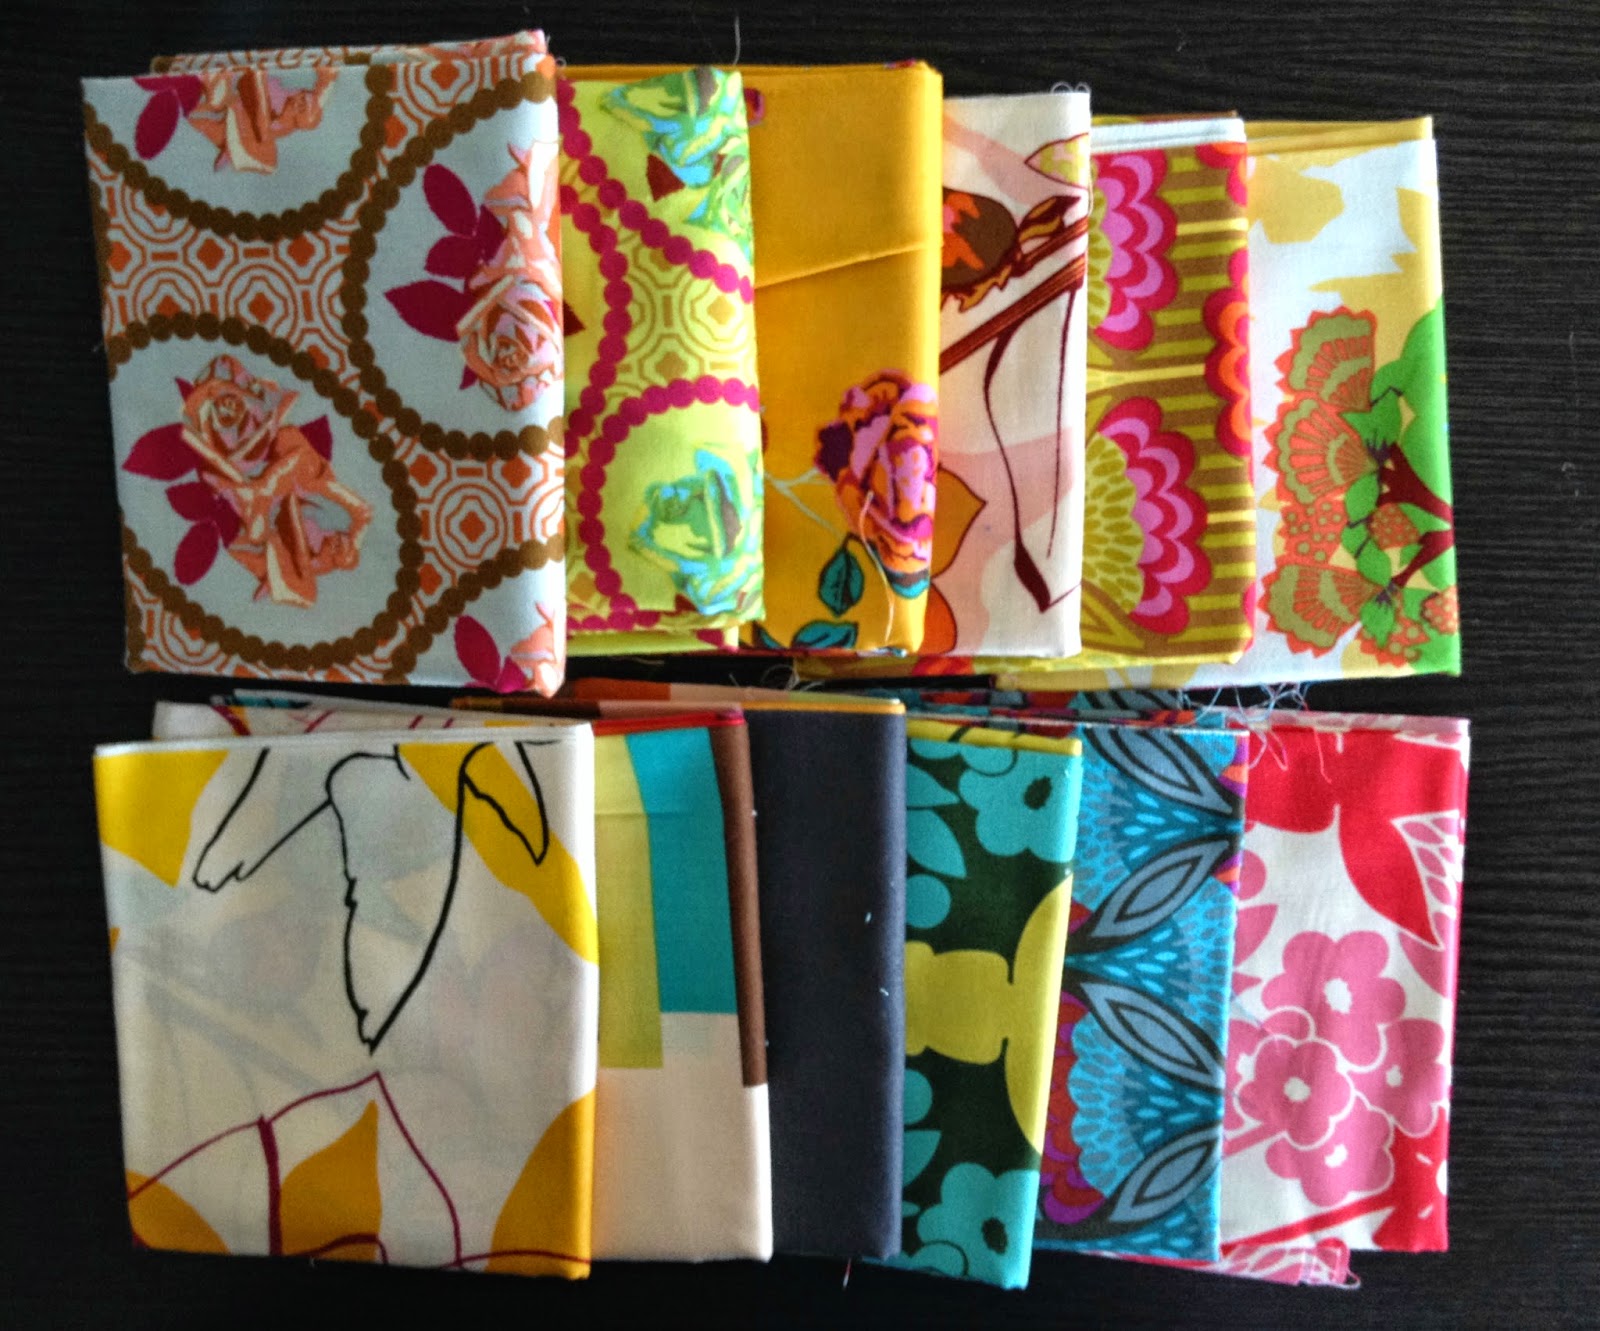
My first thought was to use an AMH selection I'd gotten from winning the #sweatnsew hashtag one month. It's so pretty, but very different from the colors I generally use, and I thought this might be a great place to use it up. But I soon noticed the SCALE of these fabrics was WAY too big for some of these teensy pieces -- you can see it best in the two fabrics in the following picture:


See what I mean? I might be able to get one of the leaves on that giant rose into some of the bigger pieces, but when the size of a graphic in your print is bigger than your finished quilt block, that's a pretty good indicator that this is the wrong print for you to work with. :)

So, next I pulled some warm fabrics from my stash. These are fabrics I bought without any real intent in mind -- they were just so pretty I had to have some! When I am buying fabric just to buy it, I usually buy a fat quarter -- it's just enough fabric to really get a good feel for it, but at $2-$3 apiece, they don't break my budget to get one here and there.


I thought these colors were pretty, but they were kind of missing something -- and I decided it was pink they were missing. I tried a couple of pinks, but my favorite (shown below) is just a little 5" square from a charm pack I used for another project.


Doesn't that look so much better? I love that it just bridges that yellow and red a little. In real life, it's a little more coral, so it kind of takes the place of orange just a little too. Unfortunately, I didn't find it (or anything even close) at any of the local shops I visited, so I ordered some from an etsy shop in California.  It should come sometime next week. :)


Next, I went for some cool colors. I haven't used much black in my quilting, so I thought I'd throw a little of that in there, just to see what happens -- and I absolutely love it!  I realize I'm leaving out purple in this selection -- that's because I really don't love purple and only have one fat quarter in my stash that's even close to purple. I will probably put together ONE block that uses purple, just to be fair to the color -- but if I do, I'll use a kind of pinky purply berry color that I do like. A little. I know, I'm totally prejudiced against it.

And now the moment of truth -- do I like them all together?


I LOVE IT!! I've been learning a lot lately about what MY style is -- and I think this describes it perfectly. A lot of flowers, some polka dots, little bit of bright (that green floral!), a little bit of fun (yellow with pink flowers!), and a little bit of drama (black!). You may notice, I did take out the brown polka dot -- I felt like the gray was a little better on its own.

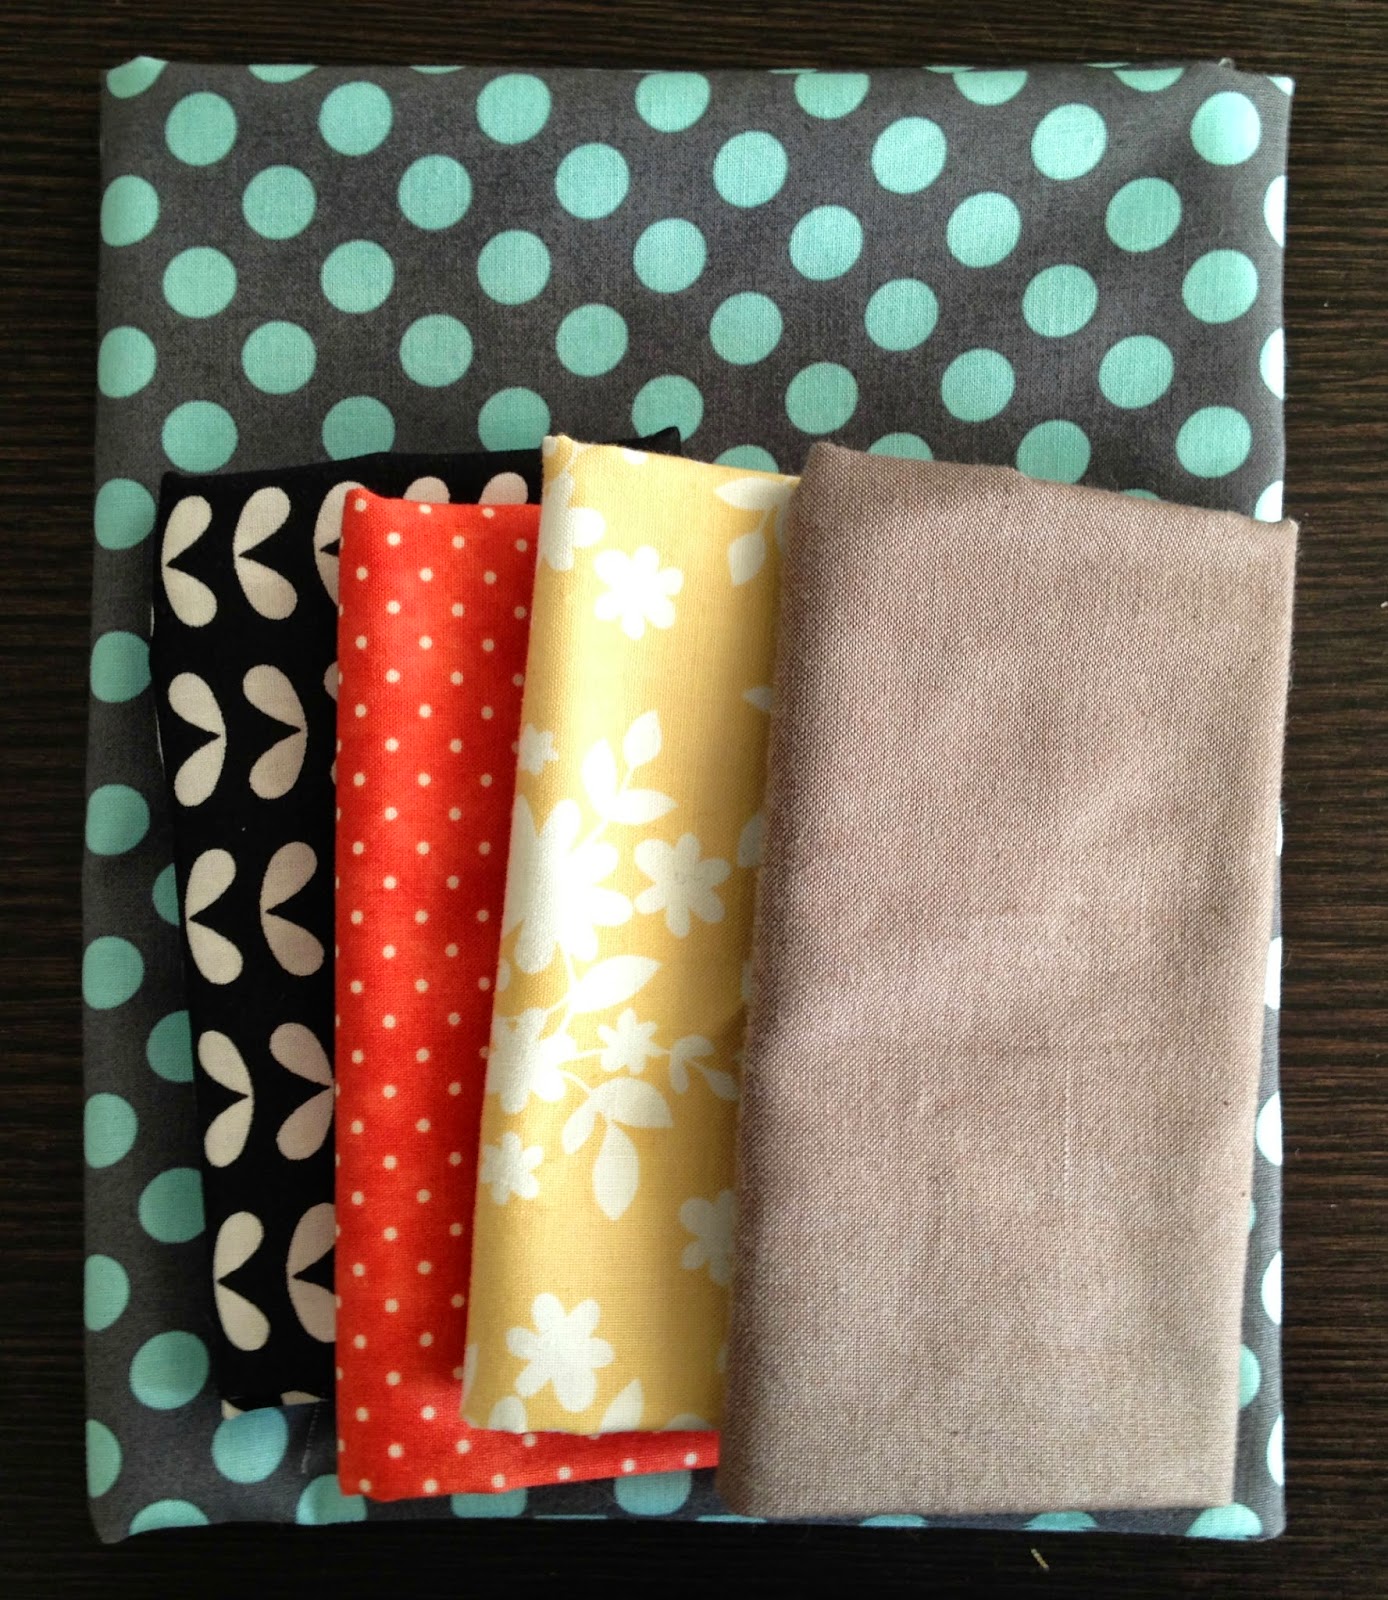
Since I took these pictures, I've gotten a couple more fabrics at my LQS, including (but not limited to) these beauties:


I may or may not use that blue polka dot on gray -- it might be a little too two-toned, since everything else is very much one color -- but I couldn't leave it behind. It would have been lonely for me! :) And I have a couple of baby blankies to make for friends soon, so that will be perfect for something I'm doing, whether it's this or not.

Now that I've got things (mostly) figured out, I can't wait to get started on my blocks!

Monday, January 5, 2015

Intro to Quilt Along and Schedule

My good friend Marion approached me last year about doing a Quilt Along. I have done a couple of QALs, and really enjoyed them a lot, but it seems like I usually bookmark them and save them for "later" -- code for "maybe never". But I didn't have a project for January, so I thought it sounded like fun. Plus, I really enjoyed making my Farmer's Wife Quilt last summer (below), and this sounded very similar, so I decided to go for it. And if you enjoyed Farmer's Wifery, you should join us too!
{front}
 
{back}

A month or two after Marion originally put out the idea to do this QAL in January, I hadn't heard anything, but I wanted to purchase the book if we were going to do it, so I contacted Marion about whether or not that was still a plan for her. Little did I know, she wanted an unsuspecting excited friend to do the QAL with her. I was actually really thrilled she asked me, and here we are -- gearing up for the QAL and getting so excited!

Marion has the intro post up on her blog today (link here!!), and it includes all the pertinent info you'll need to get started -- how long it will take, where to get the book, etc. (I got mine from amazon.com, and just got one that was in very good condition. It was less than $10.) We'll be trading off posting what we've done. She's also lined up some of the other local quilters to do guest posts, so it ends up we'll only be posting about our own blocks about once a month. That works out nicely with my plans, though, because I didn't really want to do a whole twin-sized quilt. And, to be frank, I don't love the blocks on point without a little more breathing room than the pattern calls for (3/4" sashing and cornerstones -- what?!). And, I might even do mine NOT on point -- just to make it more "me". We'll see what happens, I guess! I plan on using this quilt for free motion quilting practice, so I'll take you through that journey when I'm finished with the top. It may be ugly in the end -- but I'm just going to go for it and say, what the hey -- who cares? It's not for anyone else, it's just for me, and this is what I want to do with it. And if, when I'm done, it just needs a little straight-line quilting and nothing else is working, then I'm going to just do a whole cloth quilt, because by golly, I need FMQ practice! :)

If you're on Instagram, we'll be posting a little more real-time pictures at #BFTPqal

I hope you'll quilt along with Marion & me! This is going to be so much fun!