Tuesday, February 25, 2014

Numbers Game

Number of quilts in my house right now: 14
 
Number of days I quilt in a week: 5-7
 
Number of table runners: 2 finished, 2 in progress

Number of quilts on beds: 2
 
Number of quilts in my living room: 4

Number of quilts in my living room that were originally intended for camping: 3
(yes, this is a gratuitous Kate shot, but there are
 three little camping quilts rolled up in that basket!)

Number of quilts in progress that will go on beds: 4

Number of quilts in progress that are for patterns: 4  

Total number of quilts in progress:

Friday, February 14, 2014

Christmas Box Quilt - Tutorial

Happy Valentine's Day!  Of course, since it's Valentine's, I'm posting about a Christmas quilt... but you could definitely do this in reds and pinks and make it more valentine-y if you'd like! :)

Remember 
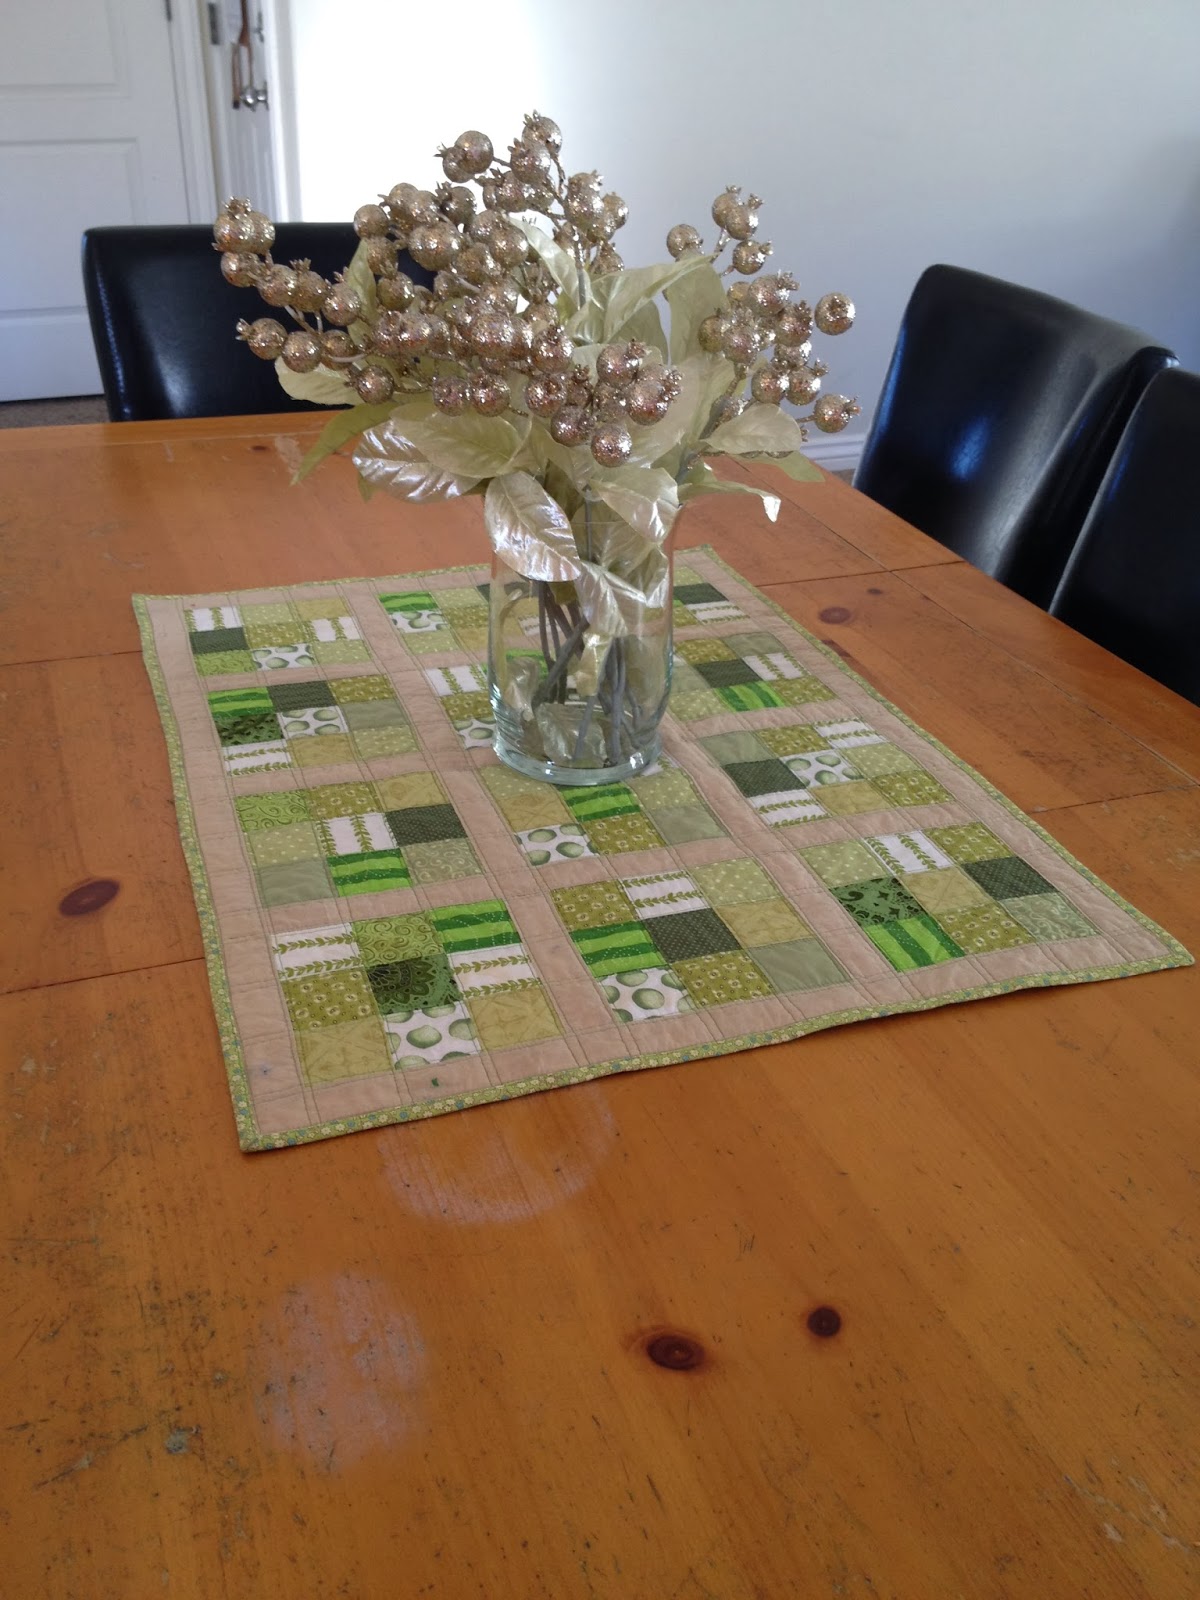
those adoption quilts I made?  Well, since I couldn't find the pattern anywhere, I just came up with it on my own -- and thought I'd share it with you! I decided to call it the Christmas Box quilt, since I gave this quilt to my bro & sis-in-law for Christmas this year.  It was so fast and fun, and I think it looks like little packages of Christmas-y goodness, all lined up! 

The quilting took as long as the piecing, because I decided to try out a new design.  I don't think I did half bad, do you?

Now -- are you ready to try?  First, decide how many blocks you want to make.  You can see that I made this quilt 4 rows of 3, so I made 12 blocks.  This made a great lap-sized quilt, and it was so fun I'm planning to make one for my own family this Christmas!
 
For each block, you will need:
 
one 6 1/2" square (red)
two 3 1/2" x 6 1/2" rectangles in three contrasting fabrics (green)

Cut out as many blocks as you'd like to make.  I made half my centers red and half green, so please plan accordingly if you're going for the same look.  For my blocks, sashing, and borders, I just used scraps of fabric I already had, so I can't give you any measurements on yardage, but I'm sure you can figure that out -- or, the quilt shop ladies can. :)

First, lay out your block so there one pair is on either side of the block, and the other two pairs are at the top & bottom.  Make sure you place the two top & bottom pairs on opposite sides (for example, my green dot is in the upper right and lower left corners).

Next, sew each row together. Press well.

Then, sew the rows together.  Press the whole block.  See? Easy as pie! Now, just repeat that for as many blocks as you'd like for your quilt.

*note: Of course, I forgot to take pictures of the rest of this, so you'll have to refer to the first picture in this post for the rest of the instructions.  Sorry!*

After piecing all the blocks, you will need sashing strips that are 3 1/2" x 12 1/2" (my white fabric), and cornerstones (the little squares of color) that are 3 1/2" square.  Make enough sashing strips that you have one in between each block, but not on the edges.  (For my quilt I had 17 sashing strips and 6 cornerstones.)

Sew together in rows as follows:
Row one (with blocks): block, sashing strip, block... etc. *
Row two (just sashing): sashing strip, cornerstone, sashing strip... etc.
Repeat as many times as necessary for you to get the rows desired.  (This is for the main part of the quilt, with blocks on all sides -- you will put the borders on later.)  Press rows in one direction (e.g., all seams pointing to the left for row one, all seams pointing to the right for row two).
*When you're putting the rows together, keep in mind that you will rotate the squares so the middle contrasting fabric is in a different place each time -- for example, it will be on the sides first, then at top & bottom next, then back to the sides, etc.)*

Now, sew the rows together.  The seams for each block and sashing strip should line up -- see how great that is? :)

For the edges (aka borders, in quilt-speak), you need two strips that are 3 1/2" x the length of the quilt (i.e., side measurements), and two strips that are 3 1/2" x the width of the quilt (i.e., top & bottom measurements).  I like to just figure out how much that is using plain old math -- for example, for the length measurement, I take both side measurements and the center length measurement, add those three measurements together, and divide by three.  This is the measurement you'll use for your borders.  Who said math never came in handy after High School? :) #mathnerdsunite

Once you have the borders on, it's time to quilt! You can quilt it by hand on a frame, or baste it and quilt it by hand in front of the TV (this is a GREAT project for Downton Abbey -- you'll feel so "period"!), or machine quilt it, or send it out to be quilted.  There are so many options for quilting!  That's why most patterns (including mine) say "quilt as desired". :)

After that, you cute 2 1/2" strips and bind the quilt.  There are tons of binding tutorials out there -- just google it if you need more info!  I used 2 1/2" strips in varying lengths to make a scrappy binding, and I thought it was a really fun choice for this super scrappy quilt.

Last step -- snuggle with this quilt in front of your Christmas tree with a steaming cup of hot chocolate (or your drink of preference) and feel so pleased with yourself for doing it!  Even if you've made a bunch of quilts, this one will still give you a great sense of accomplishment, and it's so Christmas-y and fun, you might just have to make one for everyday, too!

Please let me know if you make one of these -- you can comment here, or tag me on instagram as smileynannn (yes, those are three "n"s -- ridiculous, but I wanted to be myself everywhere! :)  I'd love to see anything you've made!

Tuesday, February 11, 2014

A List Person

 
I think it's safe to say, I'm a list person.   I have lists for each day, week, and month of the year, lists of all the fun we're going to have as a family, lists of projects to do around the house ... and lists and lists of projects and ideas.  Joel always jokes about it, but I think it really helps me stay organized -- and besides, if I don't have a list, I might forget something I REALLY want to do! (or buy. or read. :)

This is a little snapshot of the list I made for February -- it's ambitious, and I think I might be behind already (is it Tuesday ALREADY?!), but if I can work on MOST of this list, I think February might be a pretty good month for all I want to accomplish!

One more thing... I made this list on Saturday, which was the end of Week 3-9... isn't it amazing I checked everything off that week? :) Do you ever make a list with things you've already done, just so you have something to check off? I know my sisters and I do!

Friday, February 7, 2014

How to Make the Cutest Cards Ever

I just love to make homemade cards. They are the perfect little gift for teachers, Mother's Day, or really for anything big or small. I include cards with envelopes for quilts I make, and plan to make little ones for each etsy order I fill. (clarification: I am in the process of opening an etsy shop, but haven't completed the setup of it yet. Don't worry -- I'll keep you informed!)

So, you'd like to make some, too? No problem! Here's a quick tutorial and my method. You'll need:
- a piece of cardstock, folded and cut to your desired size (I also like to round my corners; you'll see that in this post)
- scraps of fabric
- an old-ish needle for your sewing machine

 
See how easy this is? The rest of it is a piece of cake, too!

First, lay out your fabrics on top of your card. They don't have to be precise, just give yourself an idea of where you want things to go.

Next, start cutting out your fabrics. On this example, I used a rotary cutter to fussy cut the bicycle and make my edges nice & sharp. Later on, I'll give an example of one I did with scissors that's just as cute!

Now, start sewing! Begin with the bottom layer, and make sure you start in a corner that is NOT covered by your second fabric. Cut off your tails about halfway through so you don't sew over them. I like to use a very small seam allowance -- about 1/8" -- although if I'm using a selvedge that has a rough edge I sometimes use about 3/8". It just depends on what you like!
 
Keeping the needle in the first layer, position all the layers on top to see where the second layer should be positioned.
 
Do not clip the threads, just lift the presser foot and scootch the card over to where you want to start (in this picture, you can see I've left the threads attached between the green & blue fabrics). Sew the second layer -- just remember to start in a corner that won't be covered by your third fabric. If the tails will be covered, clip JUST the top thread (the bottom thread will not be cut at all).

Now it's time for the last layer! Position it in place, then sew on top.
 
When you are finished sewing all sides, clip the threads and clip all remaining top threads.  In this picture, you can see the back of the card, where I've left all the bottom threads unclipped.

And now you have the cutest little card ever! These big ones are just a half-sheet of 8 1/2" x 11" cardstock, folded in half. I usually put them with some size A4 kraft paper envelopes, and they're super cute for a birthday, Christmas, or just a fun note to Mom.

I gave a set of these cards to my Mom & Mother-in-law for Mother's Day last year, and I think they turned out so sweet! I thought 8 was the perfect number for a pretty little set for each of them.
 

And my favorite size is actually this teeny tiny little one -- it's just a scrap of cardstock, folded in half, and it's perfect to accompany a gift! I included a spool of thread so you could see just how teensy it is.  I don't have envelopes for these, but I think they're cute enough to just attach to the front of a gift. Sometimes I'll even punch a hole in the corner and lace it onto some curling ribbon -- but only if I have the time! :)

I sure hope you liked these little cards -- I think they're pretty sweet, myself! If you make some, please let me know!

Thursday, February 6, 2014

Hiatus Is Over - Adoption Quilts

Well, Christmas Break turned into January, which turned into walking pneumonia -- and as a result, it's been a couple of months since I posted.  But I'm feeling much better now (take that, January!), and I've got a plan for posting that I think will be a good one!  My plan is to post every Tuesday and Friday -- I think I can handle twice a week, I'm good with schedules. :)

For now, I'd like to show you some quilts I made for a sweet neighbor friend of mine. She asked me to make a couple of quilts for her cousin who was adopting a baby girl.  She went online and found some really sweet fabric (mostly Glimma by Lotta Jansdotter for Windham Fabrics) and the pattern she wanted me to copy (I would generally purchase the pattern, but couldn't find a one for this quilt anywhere). 
(this is as fancy as I get when wrapping presents -- if I can tie some fabric around it, I call it good!)

This friend is really special to me.  She has a huge, huge heart, and she had the idea that she wanted to make a baby quilt for the new baby, AND a bigger, lap-sized quilt for the birth mom.  What a neat idea!  I played around with some layouts, and this is what we ended up with:
 

Here's a closeup of the quilting.  She just wanted a basic meander, and I'd been practicing, so I was fairly confident I could do it well.  After these two, I'm even more confident, and I think it's safe to say, I LOVE machine quilting! 

 
With the blankies, I included two little homemade cards & envelopes.  I included two so there was one for the birth mom's quilt and one for the baby quilt.  I just love to make these cards!  They're quick and pretty, and lend such a sweet touch to a gift. 

Imagine my surprise when, just a few weeks after I made these quilts, I saw on Instagram that this cute family had a new addition.  They had adopted two other children, and I never questioned my friend's desire to make quilts for her "cousin" -- she fooled me good! I was so excited I didn't even question it until she told me outright!

Would you like to make a quilt like this?  It was so easy and fun!  I'll show you how next week, so stay tuned!  And tomorrow, I'll show how to make these cute little cards.  Once you make a couple, you'll be hooked!  (And probably start saving tiny little pieces of fabric that you would have thrown away, just for this purpose.  #sorrynotsorry :)