Tuesday, March 18, 2014

Avoidance Behavior

I don't know why, but lately I've been avoiding quilting a little bit. I think it's just that I'm a little stressed out -- Joel is out of town this week and I'm in charge of Teacher Appreciation Week next week. Last week I even had a good, ugly cry.  Okay, maybe I'm actually a lot stressed out! I'm not used to being a single parent (and it's a good thing I'm not -- because I really don't do it very well) and last time I did Teacher Appreciation Week it was a HUGE time-suck and basically the WORST experience.

So... instead of quilting, I've been watching Dr. Who and White Collar and working on my "Once Upon a Time" cross-stitch sampler...

I won some fabric!  From Sarcastic Quilter's #sweatandsew Instagram giveaway.  This is HUGE, because I have never, ever won anything (except a date once... and it was the worst ever date I've ever been on).  But it all started with a giveaway Lindsey from "Happier Than a Bird" did, she gave me a ton of scraps I've used a lot recently.  The only problem is, this is a really great fabric collection, but I have NO idea what to do with it...

I made a sweet little needle book to help round up my needles.  Here are the pages -- I used the "nana and company" needle book tutorial, but I didn't want my embroidery stitches to be exposed (or worse -- to fray), so I added some fusible to the back of some fabric and attached it to the back of the pages.  I think it turned out pretty darn cute!  And now I have more room for my needles than I need -- it's so great!


Then I made a stand for my Kindle... so that I can watch shows while I quilt... in the future...
 
And then I made a case for my Kindle to go inside, while it's put away. Now that all's said and done, I wish I'd used the case colors for the stand, but oh well.  I don't remember where I saw this idea (although I'm pretty sure I pinned it on my "Sewing" board on Pinterest), but I LOOOVE the ruffles!
 
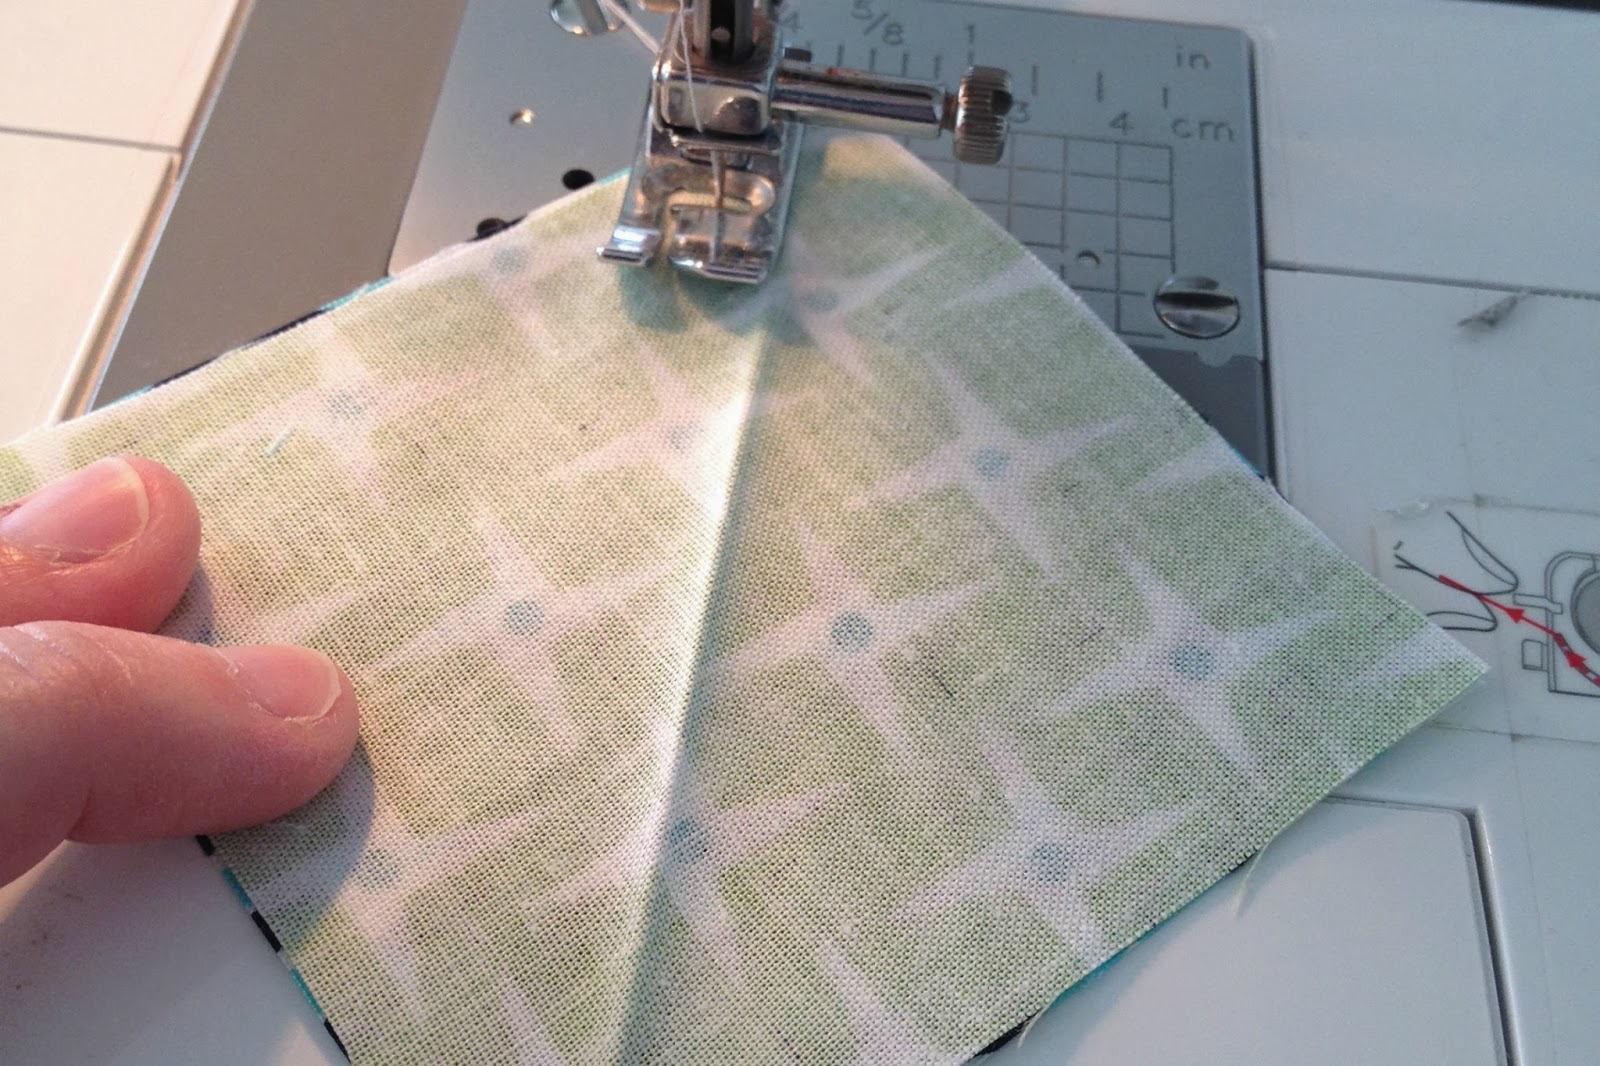
I totally love this back pocket so much -- I wanted to keep the cord with everything else, and of course I couldn't just leave that pocket plain. :) I knew I needed to make a really small block, and came up with this one. Because it was so, so small (those white corner background pieces are only 1/4" finished!), I made a little paper piecing template to help me out. I guess I didn't totally avoid quilting, either, did I? 
 

Now I don't have any more little projects to do, so I guess it's time to get serious about quilting again, right? Or maybe I should make some pillows...
 

Tuesday, March 11, 2014

Swatch Board

So, I've always been pretty anal particular about color placement in my quilts. The thought of putting all my scraps in a paper bag and just taking fabric out piece by piece literally makes me feel super jittery.

About a year and a half ago, I got a smart phone. It was great because my camera had just died, and it was so much faster to turn on than my camera had been! (It was pretty great for other reasons too... email, music, instagram, plants vs. zombies...) So, when I was laying out my quilts, I'd just snap a picture and keep referring to it whenever I needed to. Such a great idea! And sometimes it still works, but if I take another bunch of pictures of my kids, then it gets a little lost.

 If I'm working on a really scrappy quilt, that's still pretty much the only way for me to go. But... sometimes I don't want to get distracted by instagram go searching for that picture. I have a really messy bulletin board in my sewing room, and it's the perfect place for me to put a little swatch of what I'm going to put on my quilt. I've done it a couple of times before, but I've always had a hard time getting the fabric to stick to the paper. I've tried tape, and staples, and nothing was really great.
But then last night I had an epiphany -- why not sew it onto the paper? I'm not new to sewing on paper, and I have a special needle to use just for paper, so it was pretty simple to just tack it down. Here's what I did (isn't it cute?!):

So, I made a little tutorial on how I did it.  First, I arranged the fabrics onto the paper. This was just a little project, so I only needed a half-sheet of paper. I really liked the extra stability of the doubled paper, so I'll definitely be using a double sheet in the future, even if it's a bigger project. I arranged these fabrics a few times -- I told you I'm picky careful! I have an outer and an inner fabric for this project, so I made the outer fabric around 1" x 2", and the inner 1" x 1" so I could keep them straight. Please note the green fabric on the top row in the middle -- I totally used selvedges whenever I can, so I'm only taking away about 1/2" of usable fabric. 

Then, I took off the top layer. I VERY carefully set it all in order to the side, and then used a glue stick to glue down the fabric in place.

Now, that glue is TOTALLY not going to hold your fabric for very long. So, very very carefully, you take the paper over to the sewing machine and tack it down with some quick stitching. I like to do it along the top edge of the fabric, just catching that top edge. The rest of the fabric will be a little loose, but that's okay, because gravity will take care of it for you.  Hopefully you can see that in this next picture (the top edge is to the left in the picture):

After that's done, set the inner fabrics on top of the others, setting each one a little bit down from the top of the outer fabric. If you need to add a little bit of glue, it's best to just apply it to the paper. Then, sew down these fabrics just along the tops.

And now you're done! Hang it on your bulletin board -- even if it's super messy. :)

There's all sorts of treasures up there -- I can't get rid of a single thing.  Do you see the sweet picture my little girl drew me? It's a portrait of me -- in case you couldn't tell. She is definitely a better artist than I am. :) 

The best part about this method is that I can look at it all day long, and it keeps me on track so I don't have to worry about misplacing any of the pieces.  I almost can't go wrong!


Friday, March 7, 2014

Kiddos and a Half-Square Triangle Trick

These are my two littlest kiddos stringing buttons.  Aren't they the cutest?  It kept them occupied for about an hour, and took me back down memory lane -- I used to do this all the time when I was little!  And sometimes not so little -- I remember teaching some of my babysitting charges about stringing buttons. :)  It has absolutely nothing to do with the rest of this post, it was just a really fun morning with my littles that I know I'll want to remember!

Okay, back to our regularly scheduled post.  Most of the patterns I work with have you make half-square triangles by putting two squares together, drawing a line and sewing 1/4" on either side of the line, then cutting them apart and squaring up. I love this method, as there's relatively little waste, but it makes me cranky to draw those little lines if I have to do a bunch of them.  So, here's a little trick I learned in the army.  And for the record, I have never been in the army.  I mean absolutely NO disrespect to anyone in the armed forces, I really value and appreciate all the hard work and service they give to our country!  It's just a funny expression I picked up from my dad (he says it all the time!), and he was never in the army either -- it means I had to figure it out all on my own. :)

First, cut your squares to the desired size.  For example, if you want a 3" unfinished square, cut your squares to 3 3/8" if you don't want to square up, and 3 1/2" if you do want to square up.  (FYI, if this is a quilt just for our family, I love to not square up; but if it's for someone else or I'm going to show it somewhere, I'll square it up so I can be more accurate.) 


Next, take your fabric over to the iron.  Iron just one of the squares, diagonally.  I just press it really lightly, so as not to distort the fabric.  It takes about a second, and then I don't have to worry about any pencil marks bleeding through.  And if the mark doesn't quite line up on both sides, it's easy to re-iron, and you don't have to worry about which pencil mark to follow.  Not that I've ever done that...


Sew 1/4" on either side of the line, just as you would with a drawn line.


Press seams to one side, and square up if desired.  Now you have the cutest little half-square triangles!


I've used this method for half-square triangles and flying geese, but I can only recommend them for larger blocks, because the folding does introduce a tiny bit of inaccuracy in piecing.  If you're trying to be really accurate, especially with smaller piecing, please still mark your squares -- you'll be much happier with the result.  But if you're doing a big half-square triangle or you're going to square up anyway -- go for the iron!