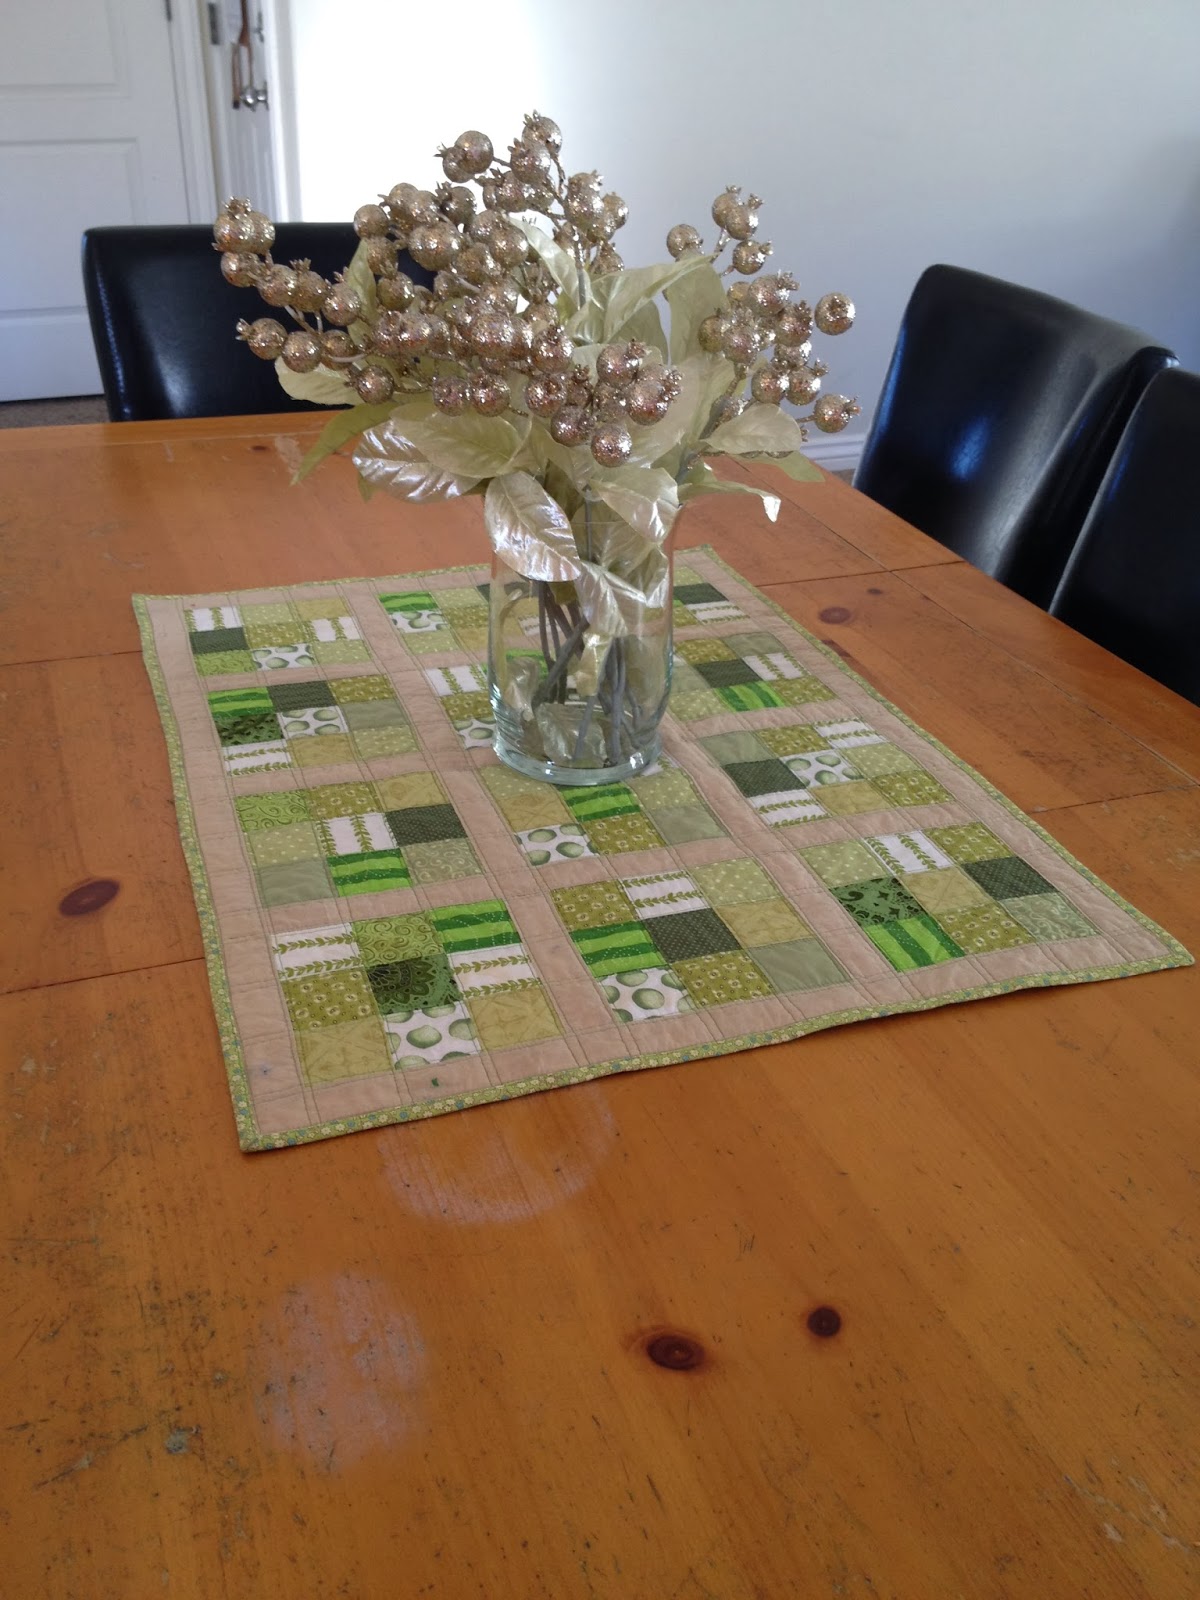
Happy Valentine's Day! Of course, since it's Valentine's, I'm posting about a Christmas quilt... but you could definitely do this in reds and pinks and make it more valentine-y if you'd like! :)
Remember
those adoption quilts I made? Well, since I couldn't find the pattern anywhere, I just came up with it on my own -- and thought I'd share it with you! I decided to call it the Christmas Box quilt, since I gave this quilt to my bro & sis-in-law for Christmas this year. It was so fast and fun, and I think it looks like little packages of Christmas-y goodness, all lined up!
The quilting took as long as the piecing, because I decided to try out a new design. I don't think I did half bad, do you?
Now -- are you ready to try? First, decide how many blocks you want to make. You can see that I made this quilt 4 rows of 3, so I made 12 blocks. This made a great lap-sized quilt, and it was so fun I'm planning to make one for my own family this Christmas!
For each block, you will need:
one 6 1/2" square (red)
two 3 1/2" x 6 1/2" rectangles in three contrasting fabrics (green)
Cut out as many blocks as you'd like to make. I made half my centers red and half green, so please plan accordingly if you're going for the same look. For my blocks, sashing, and borders, I just used scraps of fabric I already had, so I can't give you any measurements on yardage, but I'm sure you can figure that out -- or, the quilt shop ladies can. :)
First, lay out your block so there one pair is on either side of the block, and the other two pairs are at the top & bottom. Make sure you place the two top & bottom pairs on opposite sides (for example, my green dot is in the upper right and lower left corners).
Next, sew each row together. Press well.
Then, sew the rows together. Press the whole block. See? Easy as pie! Now, just repeat that for as many blocks as you'd like for your quilt.
*note: Of course, I forgot to take pictures of the rest of this, so you'll have to refer to the first picture in this post for the rest of the instructions. Sorry!*
After piecing all the blocks, you will need sashing strips that are 3 1/2" x 12 1/2" (my white fabric), and cornerstones (the little squares of color) that are 3 1/2" square. Make enough sashing strips that you have one in between each block, but not on the edges. (For my quilt I had 17 sashing strips and 6 cornerstones.)
Sew together in rows as follows:
Row one (with blocks): block, sashing strip, block... etc. *
Row two (just sashing): sashing strip, cornerstone, sashing strip... etc.
Repeat as many times as necessary for you to get the rows desired. (This is for the main part of the quilt, with blocks on all sides -- you will put the borders on later.) Press rows in one direction (e.g., all seams pointing to the left for row one, all seams pointing to the right for row two).
*When you're putting the rows together, keep in mind that you will rotate the squares so the middle contrasting fabric is in a different place each time -- for example, it will be on the sides first, then at top & bottom next, then back to the sides, etc.)*
Now, sew the rows together. The seams for each block and sashing strip should line up -- see how great that is? :)
For the edges (aka borders, in quilt-speak), you need two strips that are 3 1/2" x the length of the quilt (i.e., side measurements), and two strips that are 3 1/2" x the width of the quilt (i.e., top & bottom measurements). I like to just figure out how much that is using plain old math -- for example, for the length measurement, I take both side measurements and the center length measurement, add those three measurements together, and divide by three. This is the measurement you'll use for your borders. Who said math never came in handy after High School? :) #mathnerdsunite
Once you have the borders on, it's time to quilt! You can quilt it by hand on a frame, or baste it and quilt it by hand in front of the TV (this is a GREAT project for Downton Abbey -- you'll feel so "period"!), or machine quilt it, or send it out to be quilted. There are so many options for quilting! That's why most patterns (including mine) say "quilt as desired". :)
After that, you cute 2 1/2" strips and bind the quilt. There are tons of binding tutorials out there -- just google it if you need more info! I used 2 1/2" strips in varying lengths to make a scrappy binding, and I thought it was a really fun choice for this super scrappy quilt.
Last step -- snuggle with this quilt in front of your Christmas tree with a steaming cup of hot chocolate (or your drink of preference) and feel so pleased with yourself for doing it! Even if you've made a bunch of quilts, this one will still give you a great sense of accomplishment, and it's so Christmas-y and fun, you might just have to make one for everyday, too!
Please let me know if you make one of these -- you can comment here, or tag me on instagram as smileynannn (yes, those are three "n"s -- ridiculous, but I wanted to be myself everywhere! :) I'd love to see anything you've made!


